Monday, December 29, 2014

Valves Part 2

So the saga continues...

My trusty 2nd pair of eyes for the job. Meet Eric... He has a loud and proud ADV salute. 

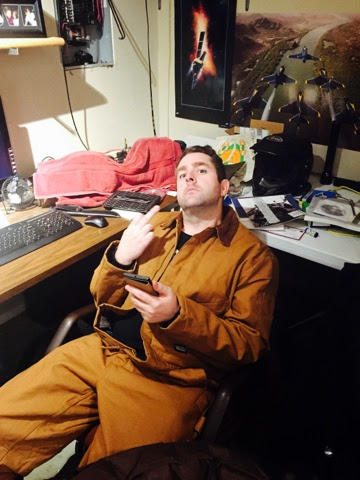
He is the closest person I have to a brother since Gene passed. Actually he is a brother... No really folks. He's black.. On his mothers fathers grandmas unlces side or something like that. Lol. I digress...

Hopefully one of these days I can get him to see the value of wandering aimlessly around on bikes... If nothing else it is good for the soul. 

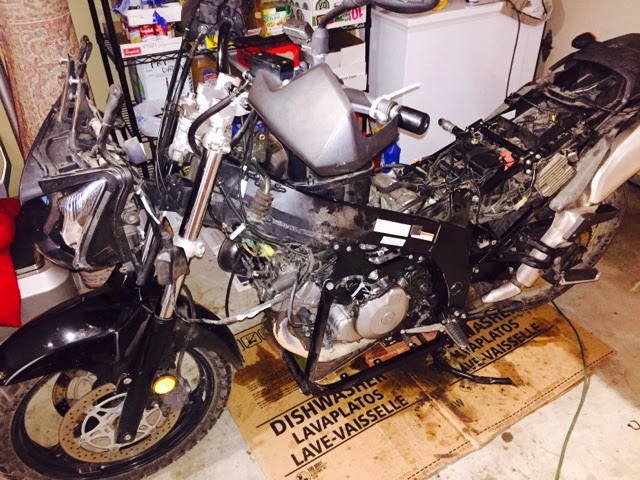
The day after CMas we were able to get the valve covers off, and the front head done and all buttoned back up. Unlike the mighty Kawasaki KLR the DL1000 has gear driven camshafts so it made for a slightly easier valve adjustment. Since alot of Jap bikes have shim under bucket valves it makes adjusting them a bear no matter how you slice it. 

One word of advice. The cycle shop here in town wanted seven dollars per shim. Before getting raped like this be sure to call the service department at your local cycle shop wherever you may be and see if they will swap shims. I was able to get mine to swap shims for free. A savings of almost $60 as of course yours truly needed 8 shims. I could have reused one of my shims in another valve but the resulting clearance was tighter that i would prefer. 

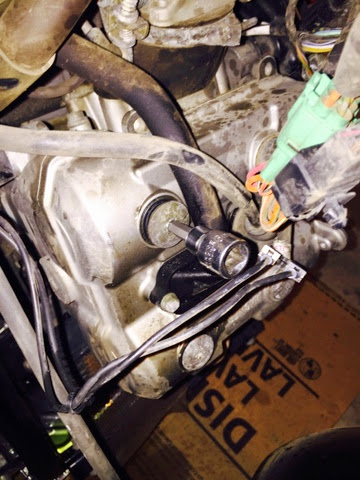
Here is a pic of the front cylinder at top dead center and the cams in the right orientation. Notice how the tick marks in the exhaust and intake cams alight with the top of the head?


Here is a picture with the front cylinder exhaust cam removed. If you look closely you can see the buckets that cover the shims. These are removed with a magnet and the shim is underneath and usually comes out along with the bucket. 

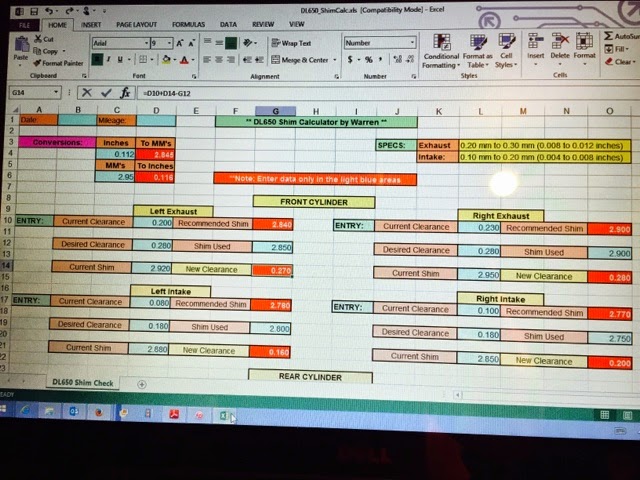
Here's a list of the measurements pre and post for the front. Hopefully it is good for the next 20000 miles!


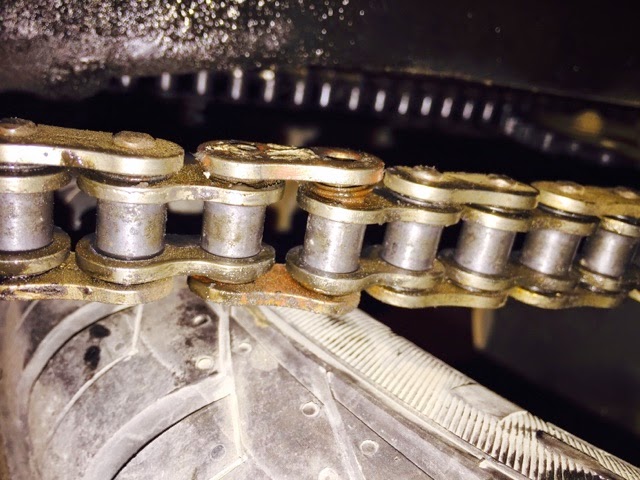
I swap my rear shims tomorrow so I should have the job complete tomorrow evening. Hopefully my 2nd chain from Sidewinder arrives after this so I can get the chain and sproket area put back together. 


Tuesday, December 23, 2014

Valves

Well so far people I have removed the fairings, gas tank, and radiator. I can't believe how much stuff you need to remove in order to do the valves on this beast. What ever happened to hydraulic auto adjusting valves??? Zook recommends you perform this procedure every 14000 miles. This is just crazy IMO.


Here is a picture of Yoshie right now. Very sad sight indeed. Makes me wonder if I am ever going to get it back together right!! 

As mentioned in a lot of the forums you need to be really careful with the valve cover bolts. They are made from really soft metal. I ended up rounding one off and barely got it out. I currently have the hex socket stuck in the bolt. I am done for the evening before I break something else!


I will definitely be very ginger with these bolts when torquing them down.

Front cylinder 

 Rear cylinder 

Eric is coming over tomorrow and we will finish the procedure. Always better to have 2 sets of eyes for these things...

Saturday, December 20, 2014

Clutch Pushrod Seal/Chain Replacement

I contacted Sidewinder Sprokets in Chicago and obtained another 16000lbs tensile strength chain. During the course of cleaning out the sproket area I managed to get some grime past the clutch pushrod seal. I ordered one from Rocky Mountain Cycle Plaza here in town.


Here's a picture of the clutch pushrod seal with the clutch seal retaining plate removed. Pretty nasty!


Here it is all button back up again. I can't tell you how many cans of WD-40 and carburetor cleaner I went through to clean the area up to what you see now. I will definitely not let it get as dirty as it was ever again. I was considering to Scott oiler for the trip to Alaska but as dirty as the sprocket area was it has me reconsidering that idea.


So I made an attempt at putting the chain on tonight. I ended up cutting the chain one link to short. Luckily the guys at sidewinder sprockets are sending me another chain (Thanks again so much Dave. You guys have a customer fir life!!). I definitely won't make that mistake again. If I would have RTFM I would have seen the chain should be 112 links. Definitely use the service manual people. Don't do what I did!! 

 In the meantime I am starting on the valve job more to come..

Sunday, December 14, 2014

Chain breaking

bought a neat little tool for getting the chain off of Yoshie. 


Here I am using it to break the first link of the master link. The first link in the master was not mounted straight so i managed to break the extracting punch. Luckily the kit comes with two of them. 


Here is a pic of the master link. Notice how the first link is cocked slightly?


Luckily the second link was a lot easier. 


I ordered a new chain from Sidewinder sprockets. More on that later....

Sunday, December 7, 2014

Yoshie the VStrom hack

Kari and I have been trying to figure out ways to do motorcycle trips without having to take a vehicle in the process. I think we have found the answer. Unique Rides in Ft Collins had her for sale. Turns out the owner was a local gentleman and after speaking with him we decided to pull the trigger on Yoshie (named such by Dom the previous owner). I think it will be the perfect tool for the long Alaska trip we plan on taking in 2017.... More to come on that later. 

Here is a pic of her in the trailer... 

The wee one couldn't wait to sit in the car!