
Here is the new chain next to the old one I cut too short. I visually counted out 112 links about 5 times before I decided where to break the chain this time!
After counting the links I knew where to break the chain and proceeded.
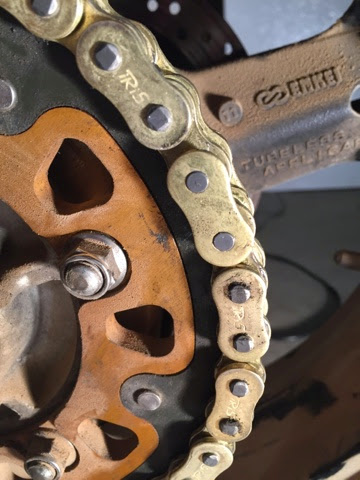
Here is a picture of the new chain cut, placed on the sprokets and the master link put on but not pressed. As you can see one link doesn't quite look like the others.

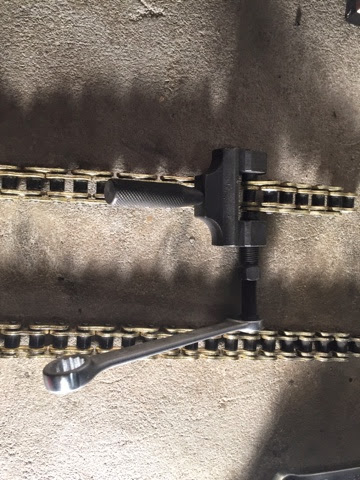
Tools for the job. The $12 chain press listed above made my job much easier vs trying to use vice grips as a chain press. The needle nose vice grips are used to put the clip on the master link.

Here is a pic of the master link pressed and the master link clip ready for installation.

Master link clip installed!! I can't tell you how happy this makes me!
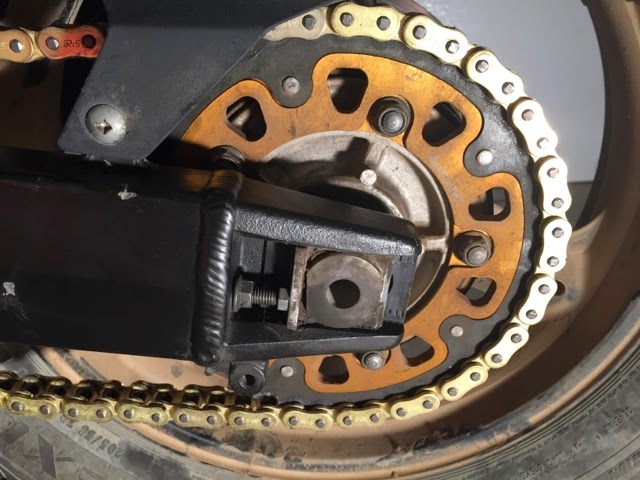
Once the chain was installed correctly O was able to adjust the lenght and button everything back up.

Once completed I was able to get the chain cover and clutch master cylinder reinstalled. Here it is all buttoned back up.
Next up I will be replacing the clutch basket and taking care of the wiring. After that folks hopefully the bulk of my posts will be about my adventures on 2, 3, and 4 wheels!!
Looks good and there seems to be plenty of adjustment room left as well.
ReplyDelete