Sunday, March 22, 2015

Weekend Adventure

I'm I guess they call it adventure riding because you never know where you will end up. I decided to take the SuperT out this weekend. She has been looking pathetic all by herself in the barn. Yoshie has been getting all the attention lately. I ended up somewhere off a county road. It turned into really rough double track. So I guess they say discretion is the better part of valor. I decided  to stop by the creek and have lunch. 

The Tenere in its natural habitat. 


This was an amazing view. Pictures don't donut justice. This was just outside of Salida on Hwy50. 


I decided to head east into Pueblo as the temperature was just a little nippy. I headed north to the racetrack off of I-25 and then headed east twoards Hanover. Hanover is literally a town in the middle of nowhere.  

The only church in Hanover. 

Well hopefully this is the start to a great riding season!! 

More to come guys...

Sunday, January 18, 2015

Clutch Basket

Update 2/3/15
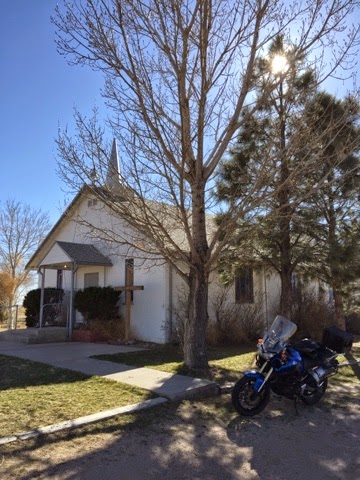
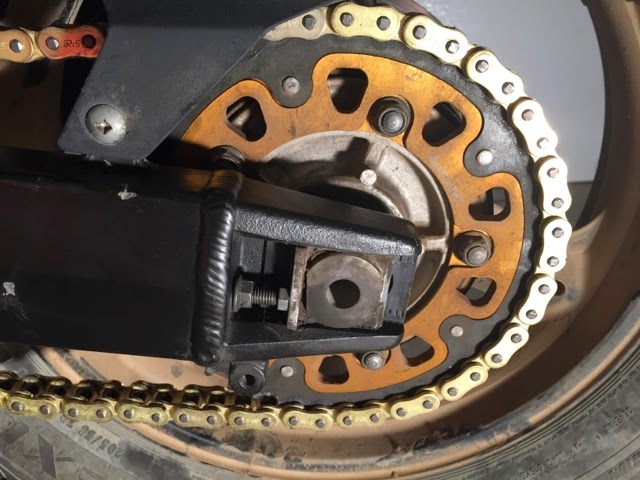
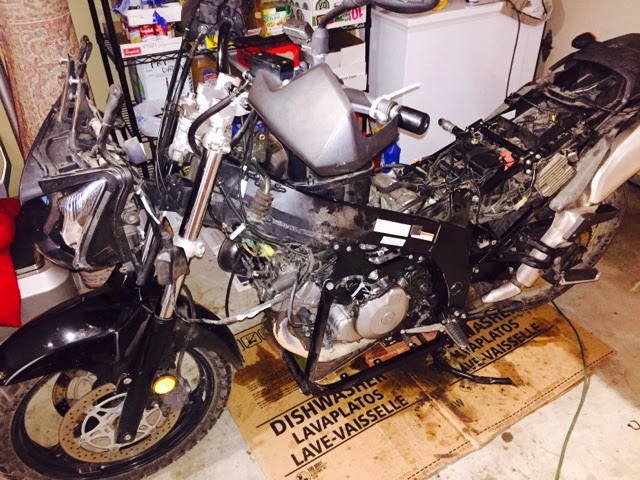
Well I did more investigation and it seems the bearing that I thought was defective wasnt. Apparently Suzuki changed the design to this in 04-05. So once I found this out I went ahead and reassembled everything. I didn't take any snaps as I was in hurry to get the thing back together. Here is a pic of me picking up the girls from school today. More to come soon!! 


Well I finally got around to doing the clutch basket yesterday. My goal was the get the job done in one day. What is the saying... The best intentions.... Or something like that. Well it didn't happen as you will see below. 

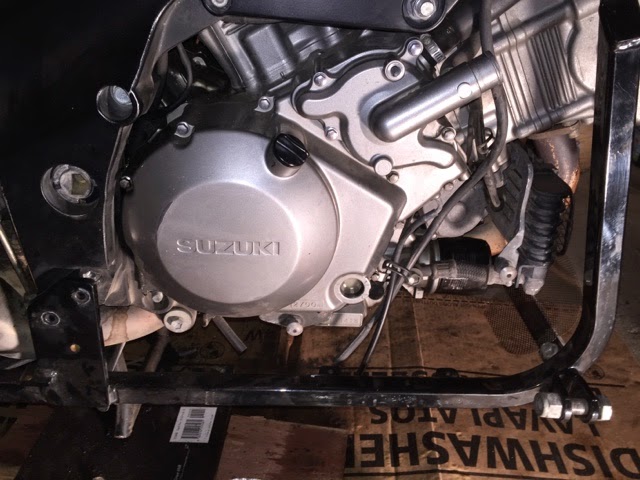
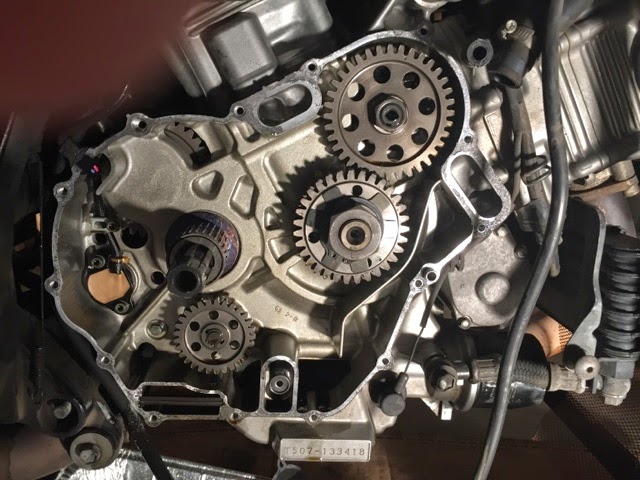
Here she is all ready to be taken apart. 

Water pump cover removed. 

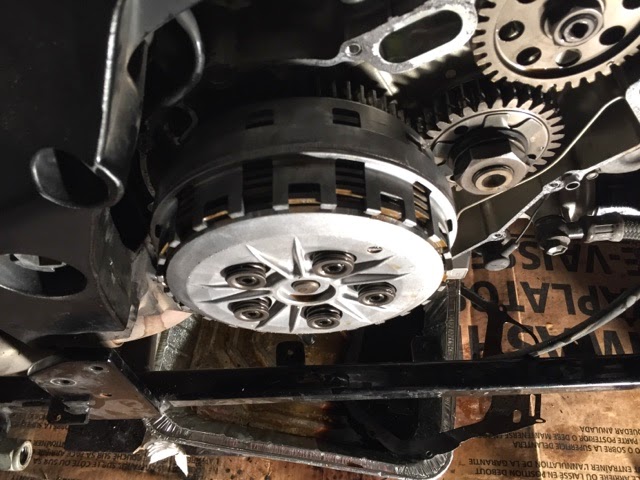
Clutch cover removed exposing the clutch basket and clutch plates. 

Here I carefully removed all the clutch plates in order and placed them aside. This is critical. If the plates somehow get out of order you have to measure each plate for thickness to see what order they should go in. 

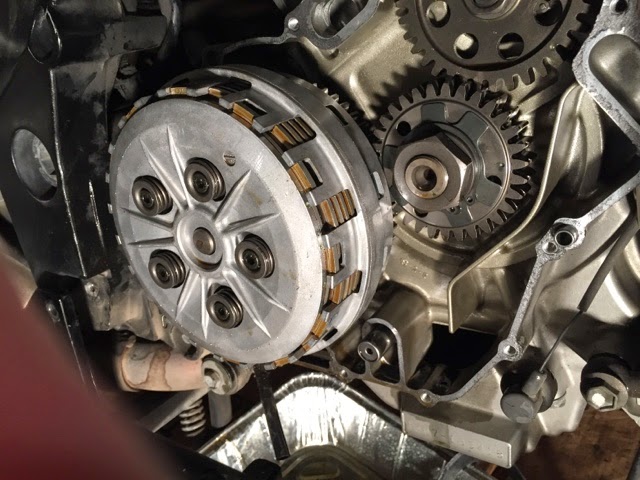
Here is the basket (drive and driven) with all the clutch plates removed. Next is to take the 30mm nut off then the basket will slide off. 

Another pic of the basket. 

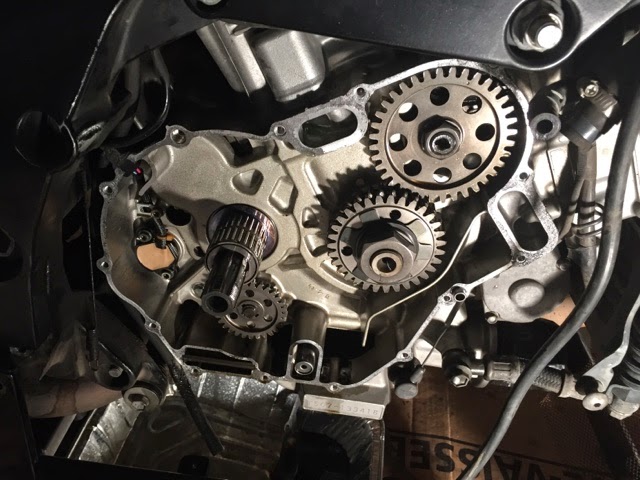
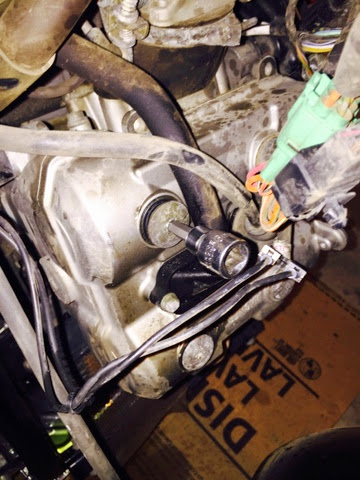
Here is the clutch basket all removed and ready for the new one. Notice the clutch bearing the basket rides on? It's on the shaft that drives the clutch basket. 

Here is a picture of the new clutch basket. All ready to be mounted! 

Then....

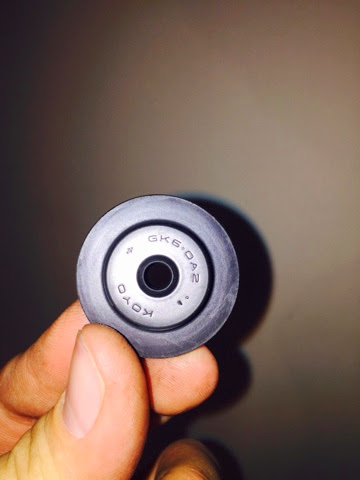
I noticed something critical. Can you see it?
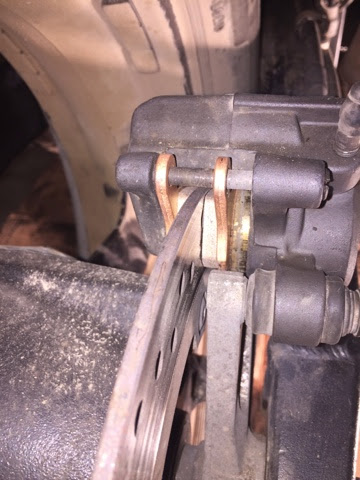
Just before mounting the new basket I took a quick look at the clutch basket bearing. Good thing I did. Notice the 2 needle bearings that are missing?

Well that dashed all hopes of completing the job... I called Rocky Mountain Cycle and ordered a new bearing, but this also means another week before I get the new part. 

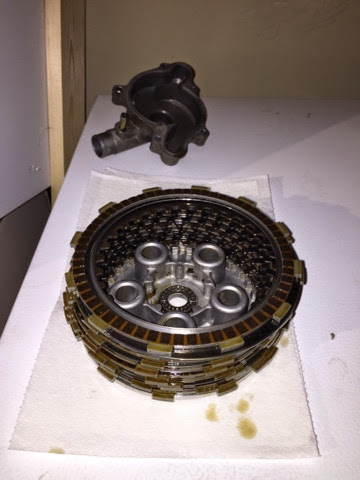
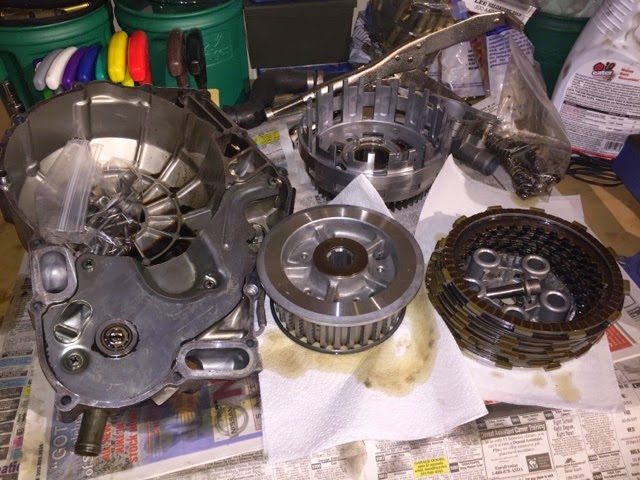
So there you have it folks... All hopes dashed. Here are all the parts on the workbench.

The good news is (knock on wood) once the bearing is in things should go together pretty quickly. 

More to come....


Saturday, January 10, 2015

Finishing up the chain and sprocket

I received my new chain from Sidewinder Sprokets this evening. With the kids happily watching a movie and Kari asleep on the couch I decided to make my escape to the garage. 


Here is the new chain next to the old one I cut too short. I visually counted out 112 links about 5 times before I decided where to break the chain this time!


After counting the links I knew where to break the chain and proceeded. 


Here is a picture of the new chain cut, placed on the sprokets and the master link put on but not pressed. As you can see one link doesn't quite look like the others. 


Tools for the job. The $12 chain press listed above made my job much easier vs trying to use vice grips as a chain press.  The needle nose vice grips are used to put the clip on the master link. 


Here is a pic of the master link pressed and the master link clip ready for installation. 


Master link clip installed!! I can't tell you how happy this makes me!


Once the chain was installed correctly O was able to adjust the lenght and button everything back up. 


Once completed I was able to get the chain cover and clutch master cylinder reinstalled. Here it is all buttoned back up. 

Next up I will be replacing the clutch basket and taking care of the wiring. After that folks hopefully the bulk of my posts will be about my adventures on 2, 3, and 4 wheels!!

Thursday, January 8, 2015

Easy Peasy

Well I was ready for something easy for a change. So I decided to do the rear brakes on Yoshie as the original ones were shot. 


EBC brake pads seem to be rated highly on the Stromtrooper forums so I decided to order a set off Amazon. 


Be careful not to strip out that set screw that holds the brake pads in place!! Actually it just covers an Allen head bolt that keeps the brake pads in place.


Half way through!!


Job well done!!

The new chain from Sidewinder is due in the mail tomorrow and some misc parts from Rocky Mountain Cycle Plaza. Next week is going to be a busy week!

Monday, December 29, 2014

Valves Part 2

So the saga continues...

My trusty 2nd pair of eyes for the job. Meet Eric... He has a loud and proud ADV salute. 

He is the closest person I have to a brother since Gene passed. Actually he is a brother... No really folks. He's black.. On his mothers fathers grandmas unlces side or something like that. Lol. I digress...

Hopefully one of these days I can get him to see the value of wandering aimlessly around on bikes... If nothing else it is good for the soul. 

The day after CMas we were able to get the valve covers off, and the front head done and all buttoned back up. Unlike the mighty Kawasaki KLR the DL1000 has gear driven camshafts so it made for a slightly easier valve adjustment. Since alot of Jap bikes have shim under bucket valves it makes adjusting them a bear no matter how you slice it. 

One word of advice. The cycle shop here in town wanted seven dollars per shim. Before getting raped like this be sure to call the service department at your local cycle shop wherever you may be and see if they will swap shims. I was able to get mine to swap shims for free. A savings of almost $60 as of course yours truly needed 8 shims. I could have reused one of my shims in another valve but the resulting clearance was tighter that i would prefer. 

Here is a pic of the front cylinder at top dead center and the cams in the right orientation. Notice how the tick marks in the exhaust and intake cams alight with the top of the head?


Here is a picture with the front cylinder exhaust cam removed. If you look closely you can see the buckets that cover the shims. These are removed with a magnet and the shim is underneath and usually comes out along with the bucket. 

Here's a list of the measurements pre and post for the front. Hopefully it is good for the next 20000 miles!


I swap my rear shims tomorrow so I should have the job complete tomorrow evening. Hopefully my 2nd chain from Sidewinder arrives after this so I can get the chain and sproket area put back together. 


Tuesday, December 23, 2014

Valves

Well so far people I have removed the fairings, gas tank, and radiator. I can't believe how much stuff you need to remove in order to do the valves on this beast. What ever happened to hydraulic auto adjusting valves??? Zook recommends you perform this procedure every 14000 miles. This is just crazy IMO.


Here is a picture of Yoshie right now. Very sad sight indeed. Makes me wonder if I am ever going to get it back together right!! 

As mentioned in a lot of the forums you need to be really careful with the valve cover bolts. They are made from really soft metal. I ended up rounding one off and barely got it out. I currently have the hex socket stuck in the bolt. I am done for the evening before I break something else!


I will definitely be very ginger with these bolts when torquing them down.

Front cylinder 

 Rear cylinder 

Eric is coming over tomorrow and we will finish the procedure. Always better to have 2 sets of eyes for these things...

Saturday, December 20, 2014

Clutch Pushrod Seal/Chain Replacement

I contacted Sidewinder Sprokets in Chicago and obtained another 16000lbs tensile strength chain. During the course of cleaning out the sproket area I managed to get some grime past the clutch pushrod seal. I ordered one from Rocky Mountain Cycle Plaza here in town.


Here's a picture of the clutch pushrod seal with the clutch seal retaining plate removed. Pretty nasty!


Here it is all button back up again. I can't tell you how many cans of WD-40 and carburetor cleaner I went through to clean the area up to what you see now. I will definitely not let it get as dirty as it was ever again. I was considering to Scott oiler for the trip to Alaska but as dirty as the sprocket area was it has me reconsidering that idea.


So I made an attempt at putting the chain on tonight. I ended up cutting the chain one link to short. Luckily the guys at sidewinder sprockets are sending me another chain (Thanks again so much Dave. You guys have a customer fir life!!). I definitely won't make that mistake again. If I would have RTFM I would have seen the chain should be 112 links. Definitely use the service manual people. Don't do what I did!! 

 In the meantime I am starting on the valve job more to come..